How To Take Amazing Photos With Your Phone
Have you ever met up with really good friends that you rarely see and desperately want a good photo? You hand your phone to the closest person and cross your fingers, hoping they can do something a six year-old can do. More often than not you are instructing them to back up, hold the camera higher and change the orientation to landscape. It’s absolutely astonishing how many adults still can’t operate a camera phone. I mean its only been around for 20 years!
If you are one of those people that struggle to take good photos with your phone, you are in luck. We are going to give you all the tips you need.
How To Take Better Photos With Your Phone
1. Follow the Rule of Thirds
The rule of thirds is a rule in photography that helps the photographer properly frame their shot. To follow this, you must enable the grid on your camera’s smartphone and this will divide the picture into nine equal squares, three rows & three columns. The grid creates four intersection points known as ‘points of interest’ – we can call this the middle. Using the grid tool you can position your subject and background to create symmetry. The human eye is naturally drawn to symmetrical-looking visuals and doing this will help create that visual.
2. Proper Lighting is Critical
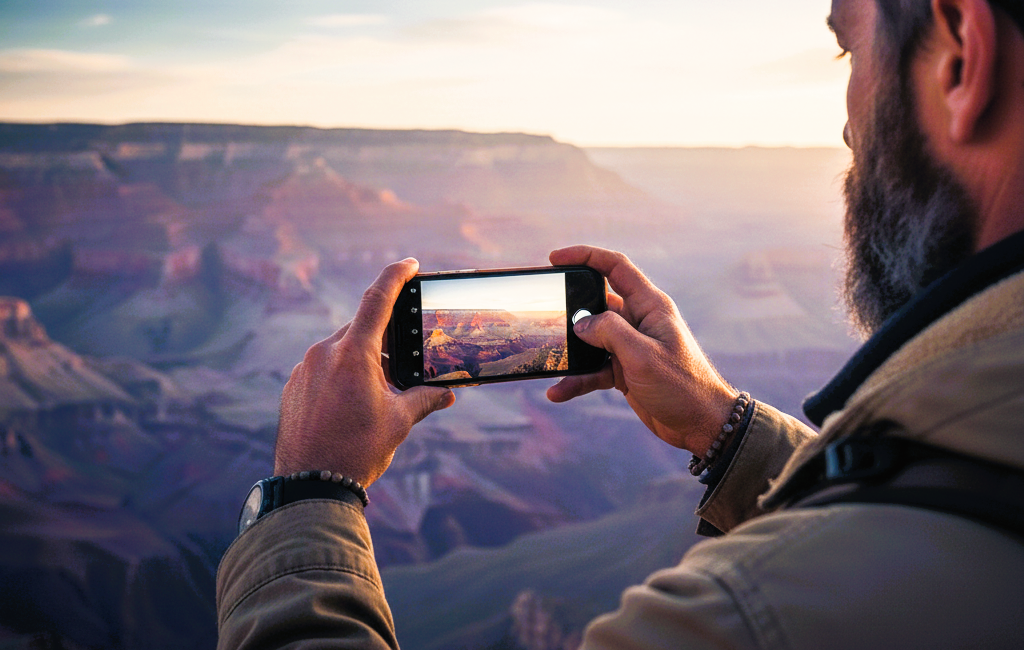
Lighting is critical in photography. You probably noticed that you cant take a good photo of someone when the sun is at their back, unless you are looking for a silhouette. Natural light is always best but in the middle of the day it can be too bright and frustrating for taking pictures. Instead of waiting for overcast conditions or a cloud to block the sun, try looking for areas with some shade or areas that are blocking vertical light. Shaded areas reduce vertical light and allow softer horizontal light to illuminate your subject. Avoid going too deep into shaded areas as the light will not be as clean and your images will look flat. This is very important if you are understanding how to take great photos with your phone.
3. Editing Photos After The Shot
You absolutely must edit photos before you send to your friends. Even the smallest bit of editing can go a long way in improving and overall feel of a picture. You should crop unwanted areas so the photo is balanced. Adding color saturation and sharpness can give your photo a professional and crisp look. The best part is the editing is so darn easy these days. Every type of phone has default photo editing software. Get familiar with the different functions, many of which have one click photo optimization and none of them are time consuming. Even if you know nothing about editing pictures or how they work, allowing your smartphone to do some quick editing will go along way in making you look like a pro.
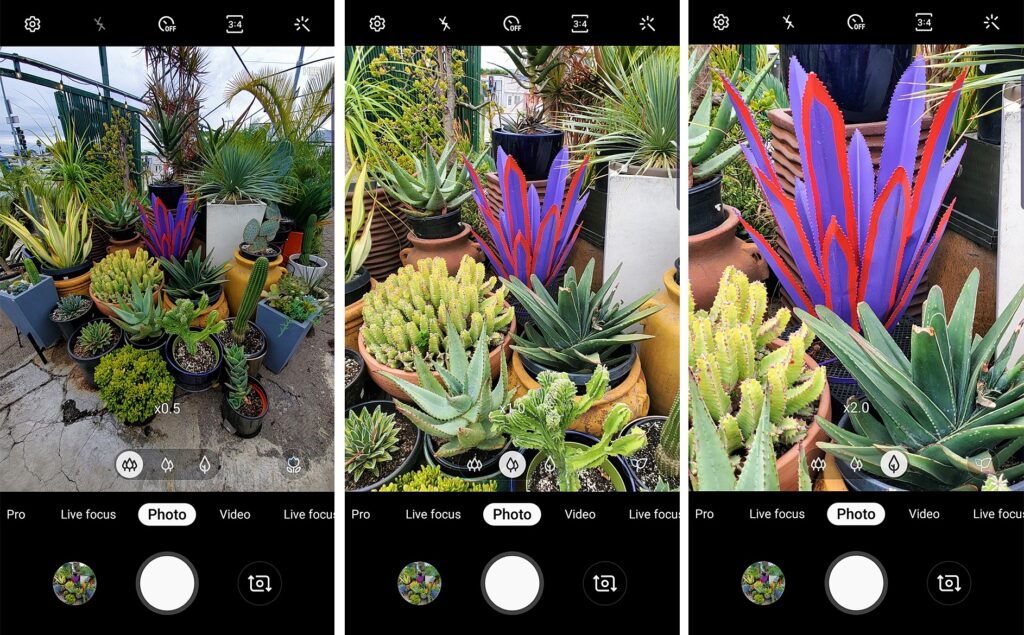
4. Avoid Using Digital Zoom
Digital Zoom is an artificial type zoom feature built into most smartphone cameras nowadays. Traditional DSLR cameras use optical zoom which physically crops the camera’s sensor when adjusting the lens, however, smartphone cameras don’t use this. Unlike optical zoom, digital zoom artificially cuts down on the photo’s megapixels it isn’t worth using due to how grainy it makes the images look. This decreases the overall quality of the shots you are trying to capture. It will also exacerbate any shakiness in your hands, contributing to a blurry photo. This feature should be avoided when trying to achieve the high quality photos. You wont be able to take a good photo with your phone if you constantly zoom in before.
5. Steady Your Hands
Having steady hands just might be the best tip we can provide if you want to take good photos with your phone. Furthermore because the shutter speed on your camera phone is much slower than that of a real camera, you must hold your pose for a second after you take the photo. If your shots of the of the sunset seem a little blurry, it’s probably because you hands were shaking. That is why you always see professional photographers carrying around this very non-technical and simple piece of equipment called a tripod. A steady hand is always better than a shaky one, but neither can match the quality and versality of a tripod.
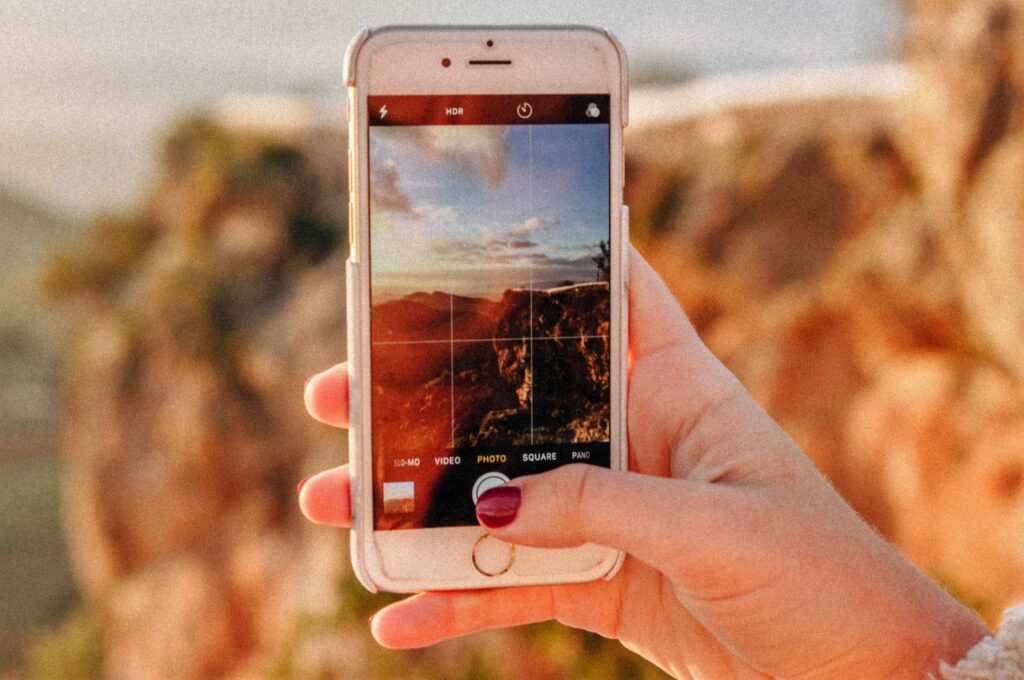
6. Please Turn Your Phone Sideways
It’s amazing how many people don’t understand to turn their phone sideways when taking photos (or video!). You almost always should do this. You’ll get a much better photo if you hold your phone horizontally. That’s partly because of the simple fact that when you shoot a photo horizontally, you have the ability to capture much more of what you are looking at.
Using the “landscape” orientation when taking photos will get more into the frame, especially when shooting group shots or if you want to capture the background like a sunset. Holding your phone horizontally will also create photos that look better when viewed on a widescreen like a computer or television or printed.
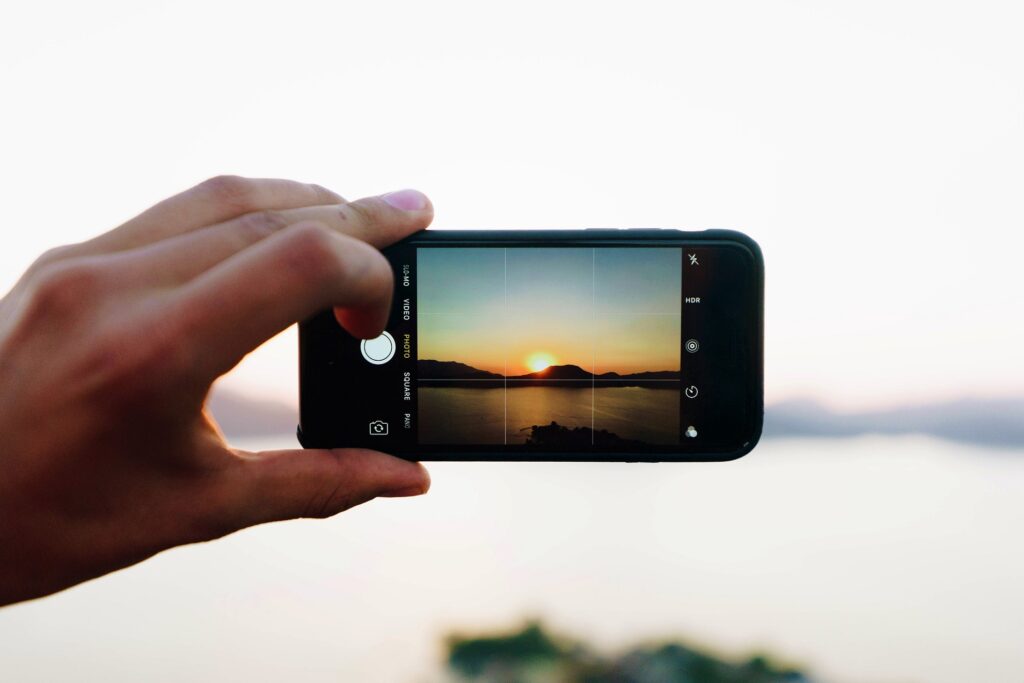
7. Utilize the HDR Feature
HDR is a rather new tool used in photography and is very popular on smartphone cameras nowadays. It can easily be toggled on in the drop-down menu in your camera’s settings, and I suggest that you always keep it on. High Dynamic Range or better known as HDR, retains more detail while also slightly increasing the luminosity of the colors captured in your pictures. The quality of your photos will be greatly improved. This is one of the easiest adjustments if you want to take good better photos with your phone, and all you have to do is simply toggle it on.
Summary
Hopefully these tips help you take better photos. There is no need to keep lousy photos on your phone or your cloud storage. The technology makes it too easy to take great photos. So when someone asks you to take a photo, do your best. Move them around, frame the shot, take a couple different angles & notice the lighting. Handing their phone back with lousy photos is so douchey. They trusted you to capture their special moment, that’s a compliment to you. ?
Now you are on your way to capture all the special moments you’ve enjoyed throughout the year. Creating a custom photo calendar online is one way to preserve these memories and keep track of all your rugged adventures.
Good Luck & Thanks For Reading The Best Men’s Lifestyle Blog!
You Might Also Like